Data Fusion in Orange
37th Annual International Conference of the IEEE Engineering in Medicine and Biology Society
Installation instructions for Orange and Data Fusion add-on needed for the tutorial Data fusion of everything. Instructors: Blaz Zupan and Marinka Zitnik. The course was prepared by members of the Bioinformatics Lab, Ljubljana.Software installation instructions
Step 1: Python data mining libraries
For Mac OS X, Windows, or Linux.
Step 2: Orange with Data Fusion add-on
Download additional data sets from molecular biology and tutorial handouts.
The following instructions will guide you through installation of various libraries and enviroments we will use during the tutorial.
Step 1: Mac OS X
In a nutshell
Download the latest version of Orange (i.e. a dmg installation file) from Orange website, install it on your system and continue with Step 2 of these instructions.
Detailed installation instructions
Download latest bundle for OSX from the Orange 3 download site .
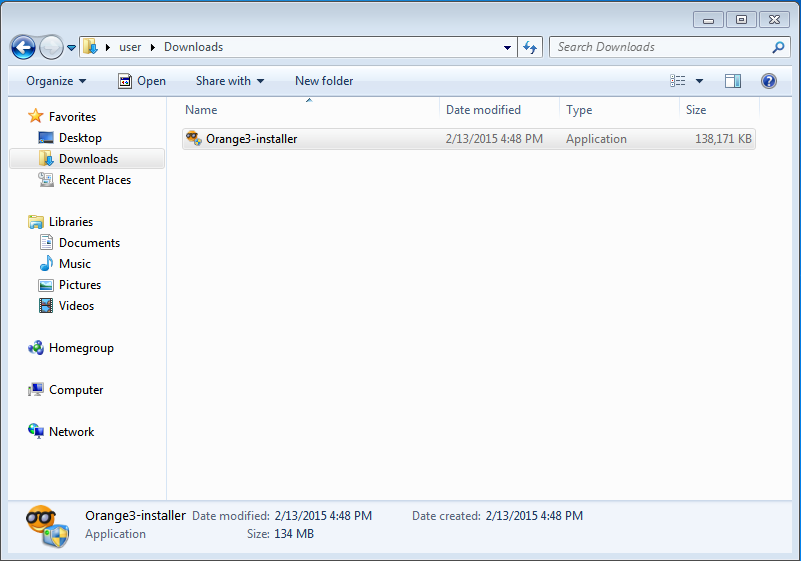
Your browser will most likely save the installation file (a file with a name similar to Orange3-3.2.dev0+6f2c3c3.dmg) to your Downloads folder.
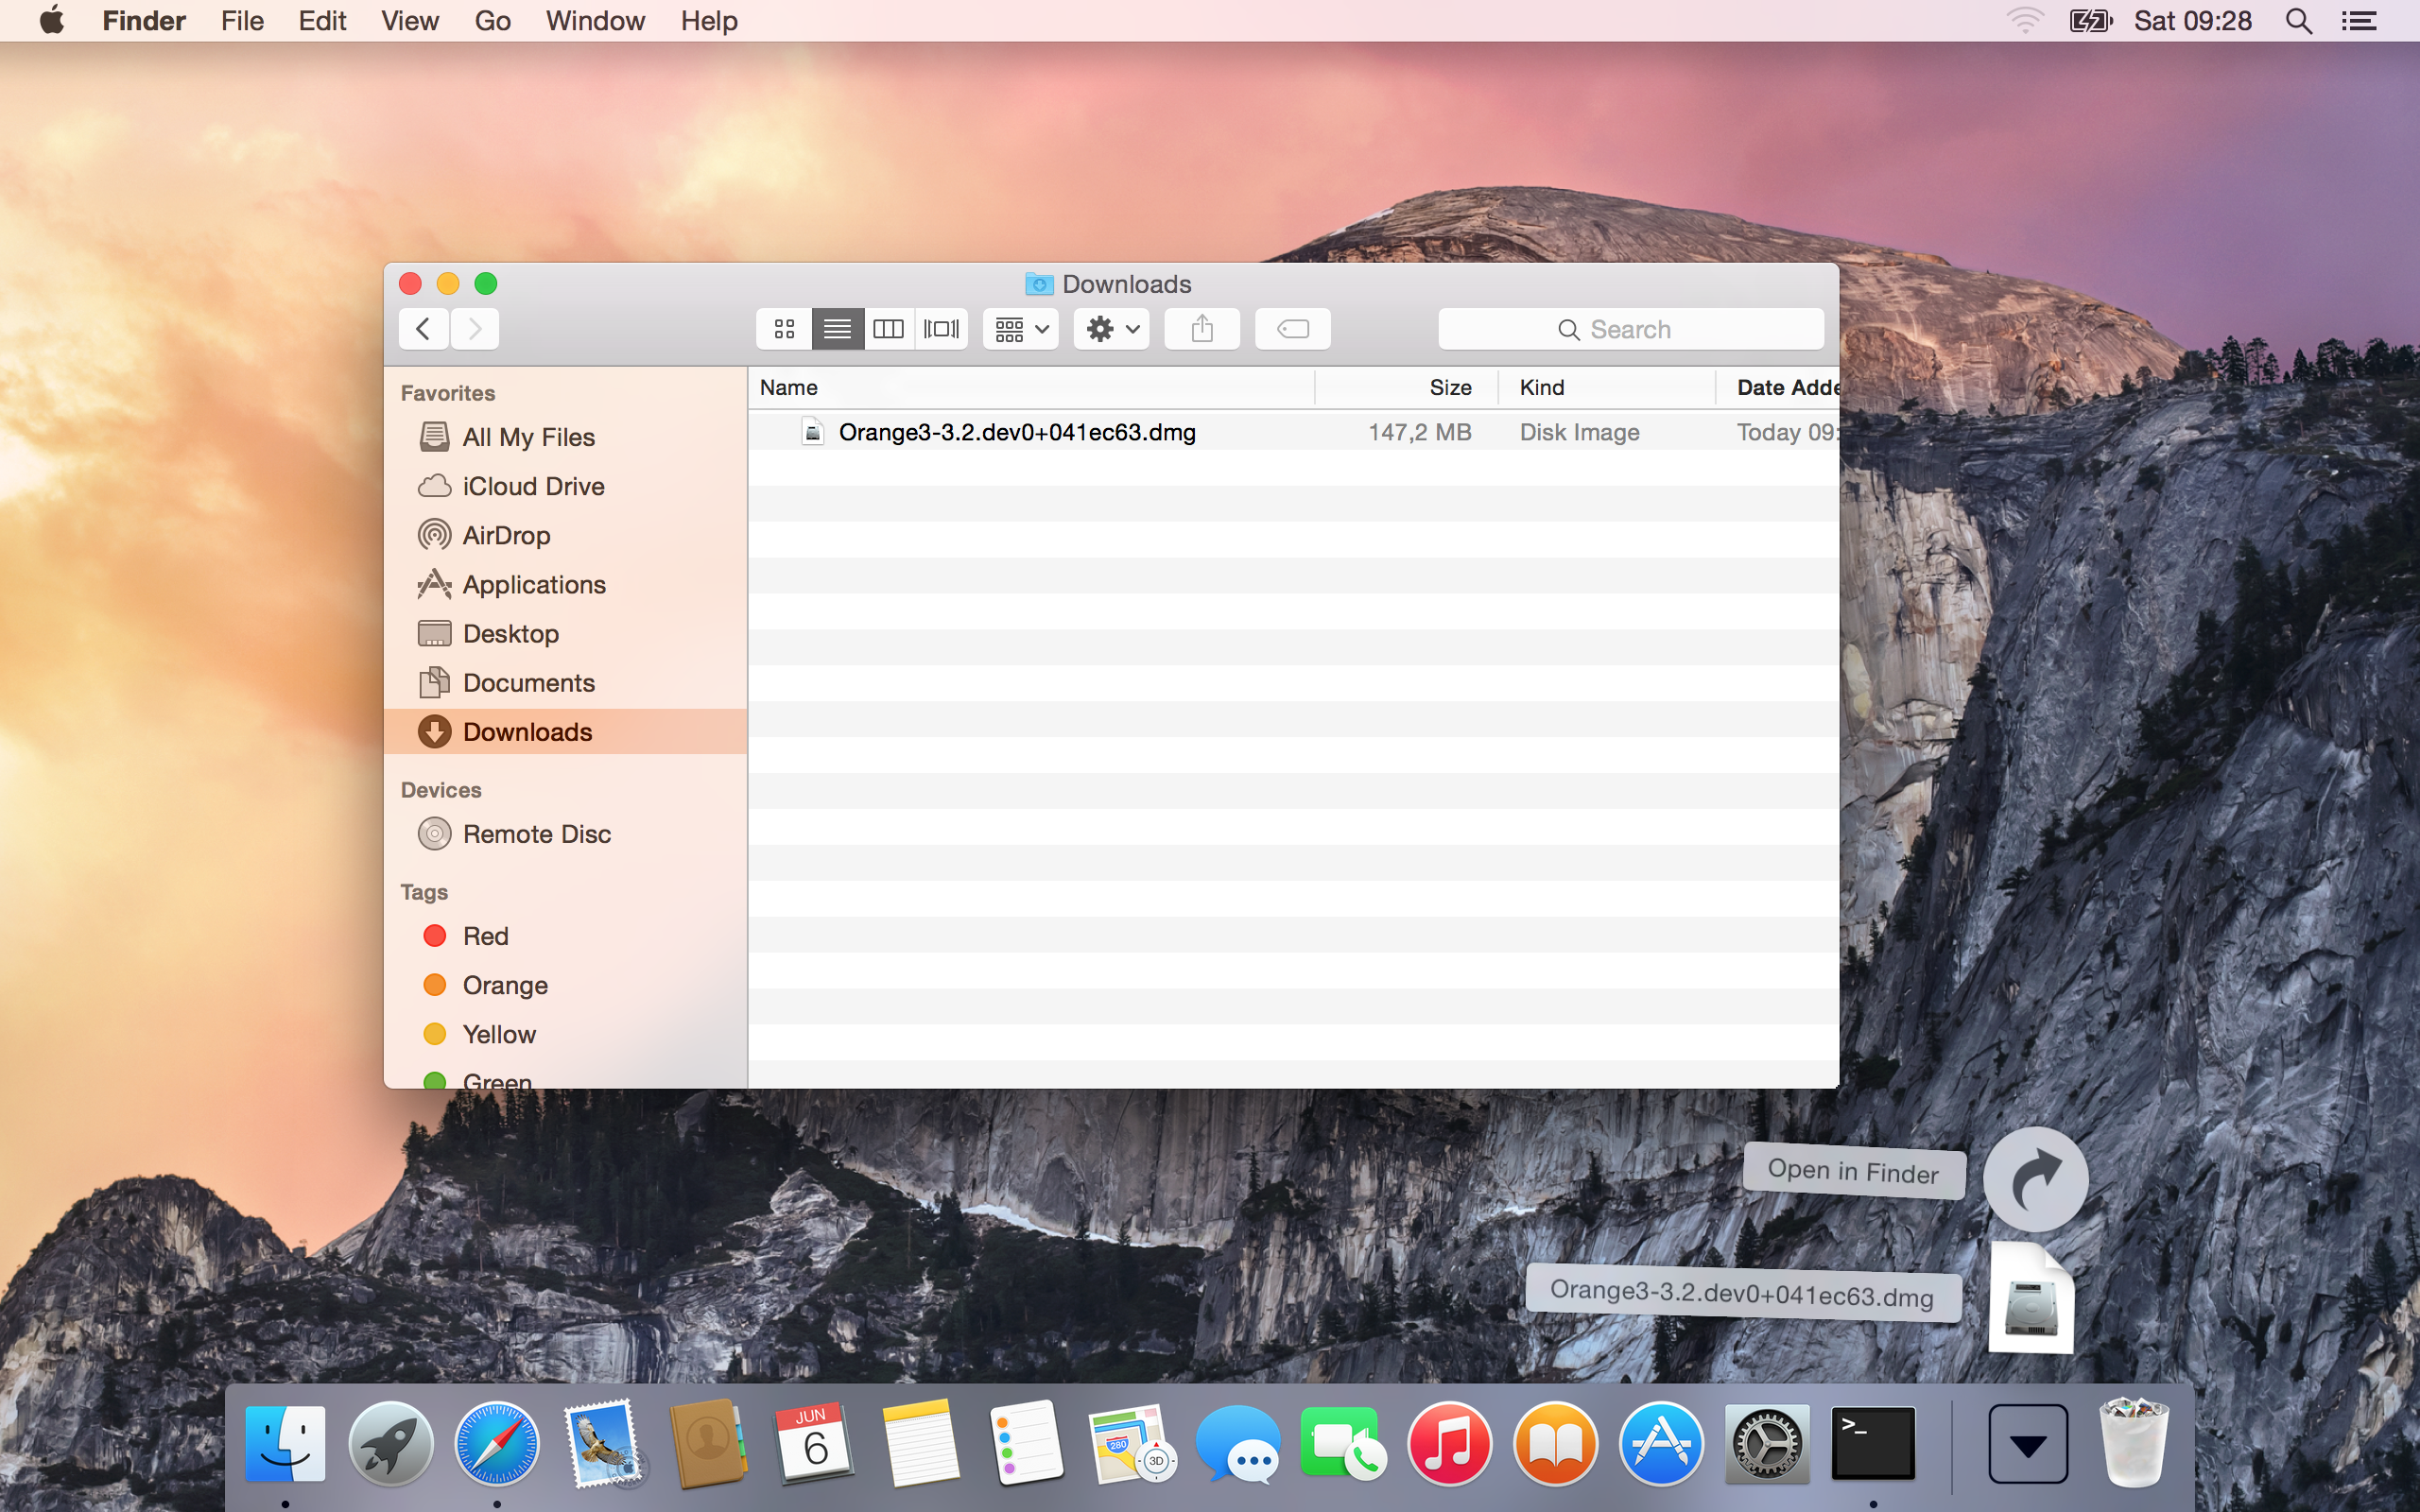
Open the installation file by double clicking its icon.
A window like the one shown below should open. Drag the Orange icon and release it over the Applications icon.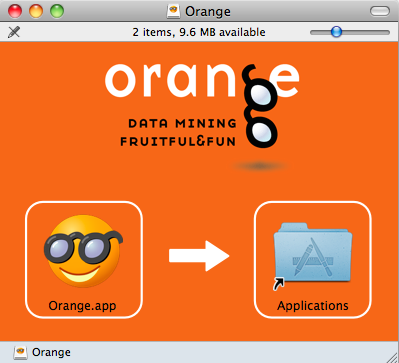
Now you can open Orange from your Applications folder. Simply open the Applications folder, find the application named Orange, click its icon to select it, and open it by choosing Open from Finder's File menu. [You should use this procedure instead of a double click to open Orange, i.e. unregistered applications, for the first time.]
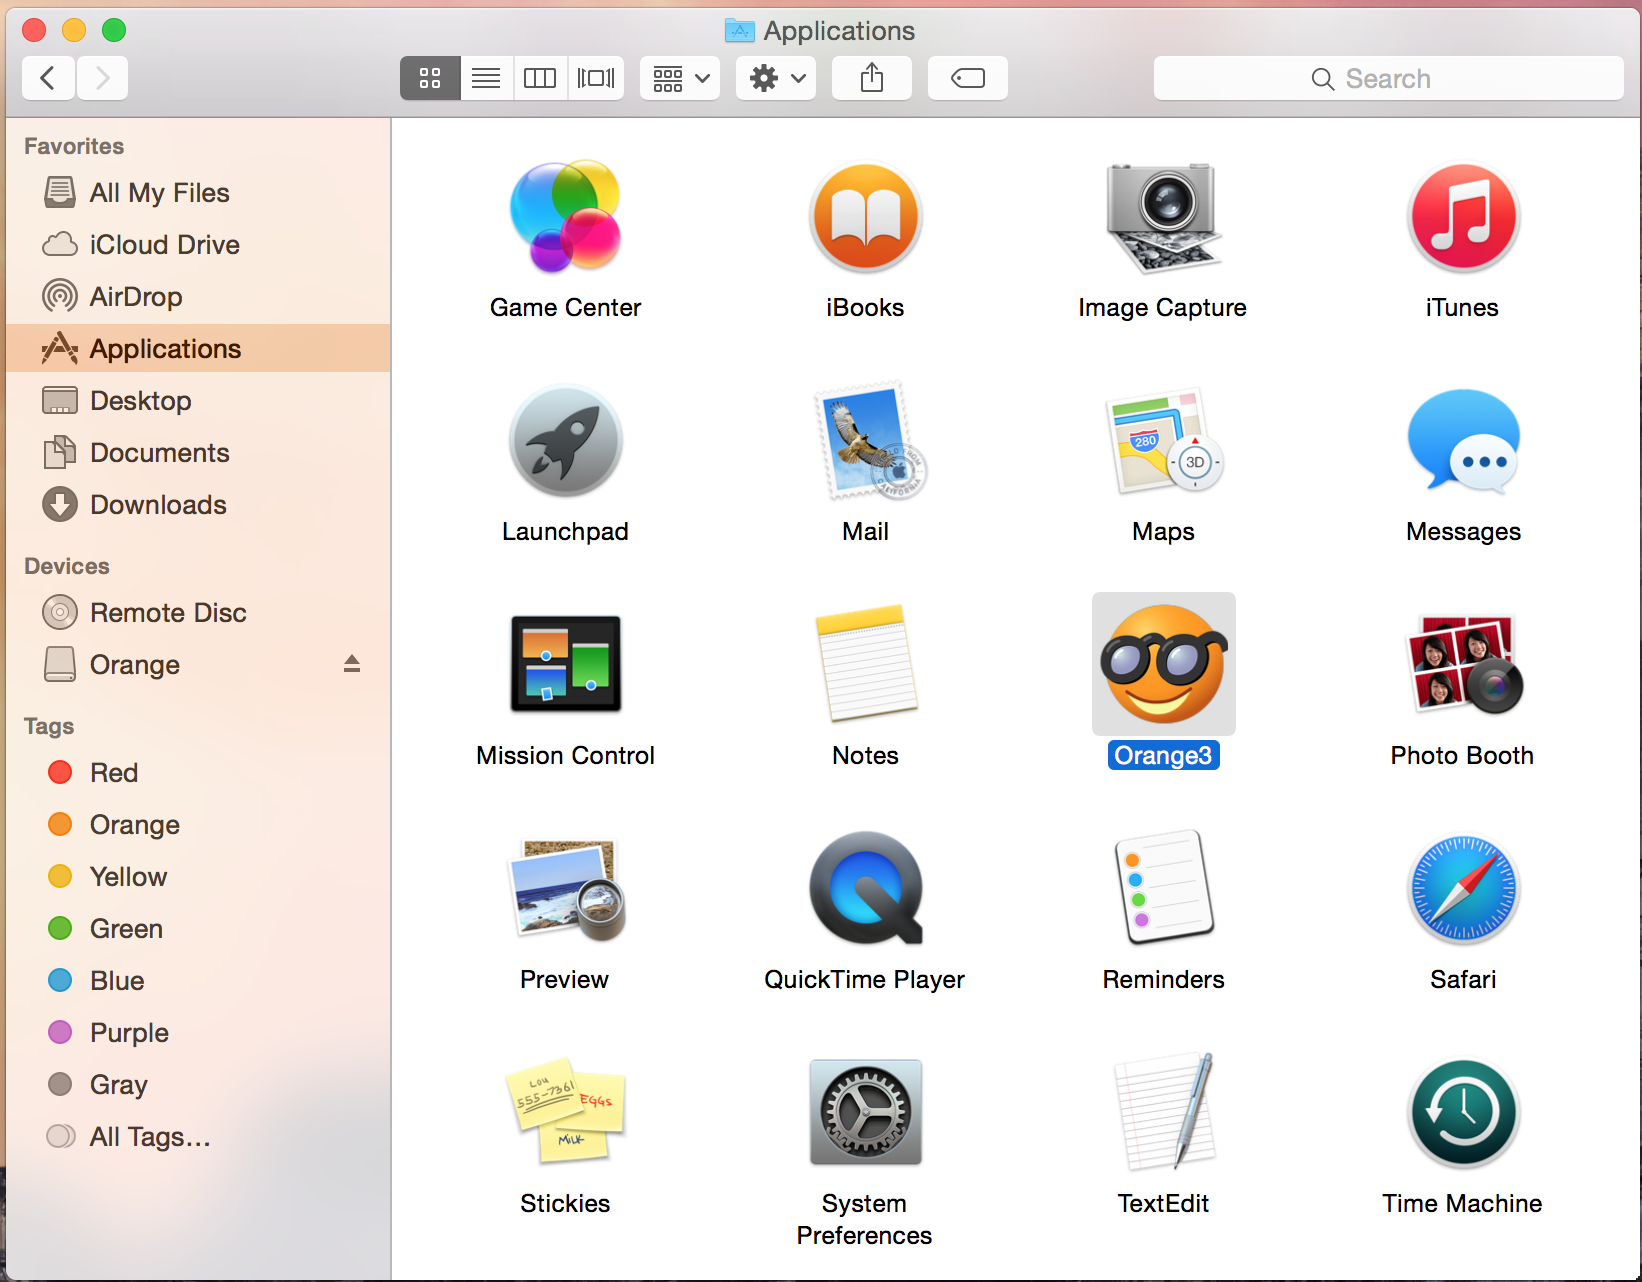
Install data fusion add-on by selecting Add-ons from menu Options. Dialog window like this one will appear.
Now check the Orange3-DataFusion add-on and press OK to install. If you don't have the Command Line Tools installed, the install procedure will prompt you to install them. Click Install button and click Agree with the Command Line Tools License Agreement. Upon installation completion, close and reopen Orange. Now you should see new Data Fusion widgets in the left panel.
Step 1: Windows
In a nutshell
- Download and open Orange3 installation file.
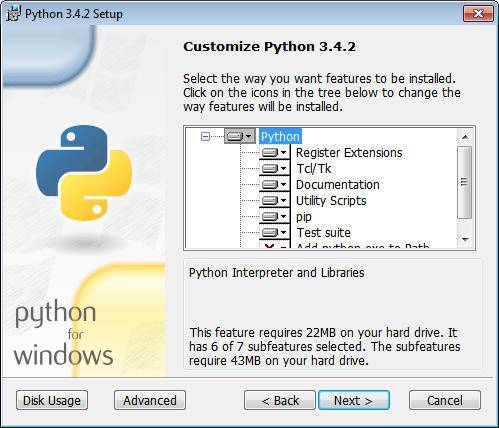
- Follow installation wizard to install Orange 3 and its dependencies (Python 3.4, NumPy, etc.).
- Install Graphviz.
- Download pygraphviz and execute Pygraphviz install script.
- Reboot.
- Install Data Fusion add-on.
- Restart Orange 3.
- Continue with Step 2.
Detailed installation instructions
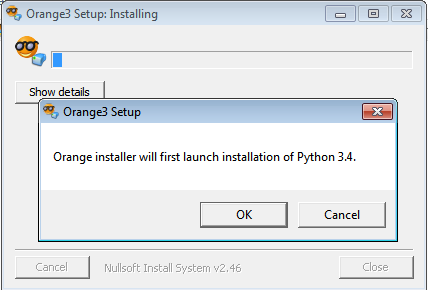
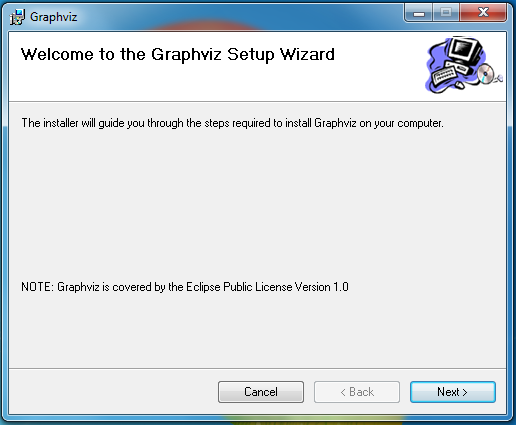
Download the installation file and save the file to an arbitrary location. Start the installation by double clicking the downloaded file. Choose Yes when asked whether you want to allow this program to make changes to your computer.
Setup will ask you to confirm installation of Python 3.4 on your computer. Press OK. If you already have Python 3.4 installed, this step is not needed.
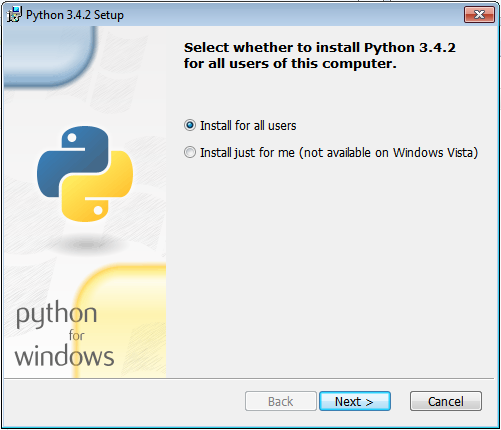
Follow installation wizard to install Python 3.4. You can leave default settings and wait for installation to complete.
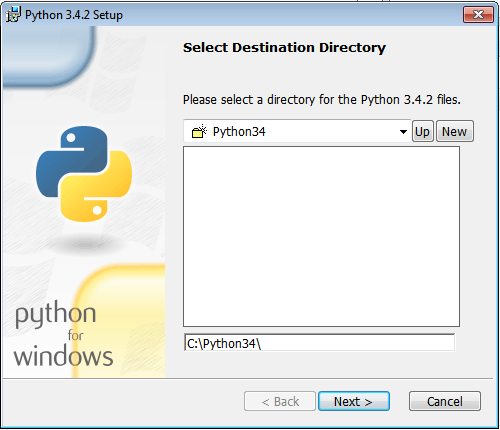
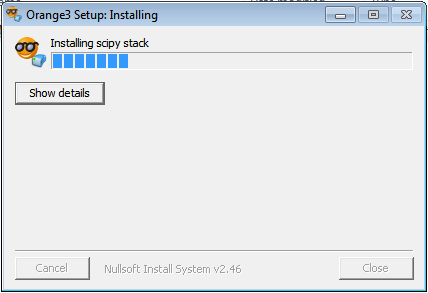
After installation of Python 3.4, the wizard will install Orange 3 and its dependencies. This step might take a while.
For Data Fusion widgets to work, you will have to install graphviz and pygraphviz.
First download the latest version of graphviz.
Double click the graphviz-2.38.msi file. If the security dialog window asks you, whether you want to run this software, press the Run button.
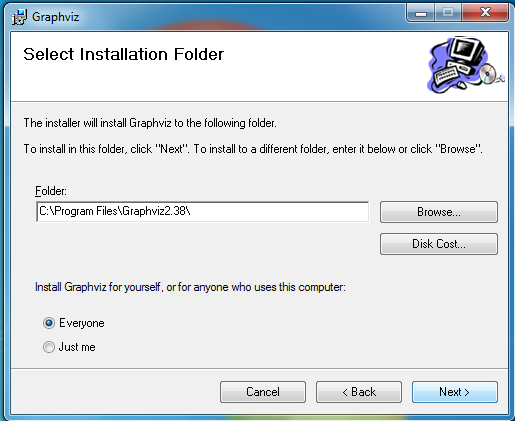
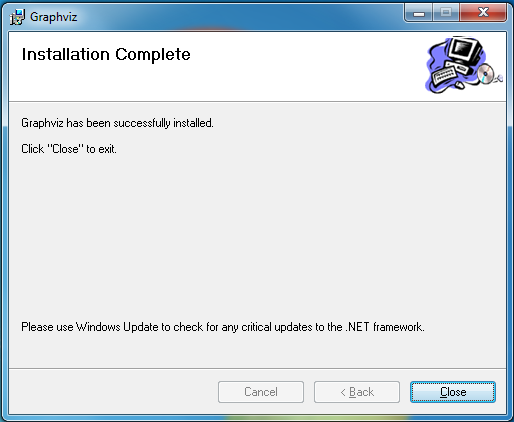
Install graphviz by following the installation wizard. Choose yes, when asked if you want to allow this program to make changes to your computer.

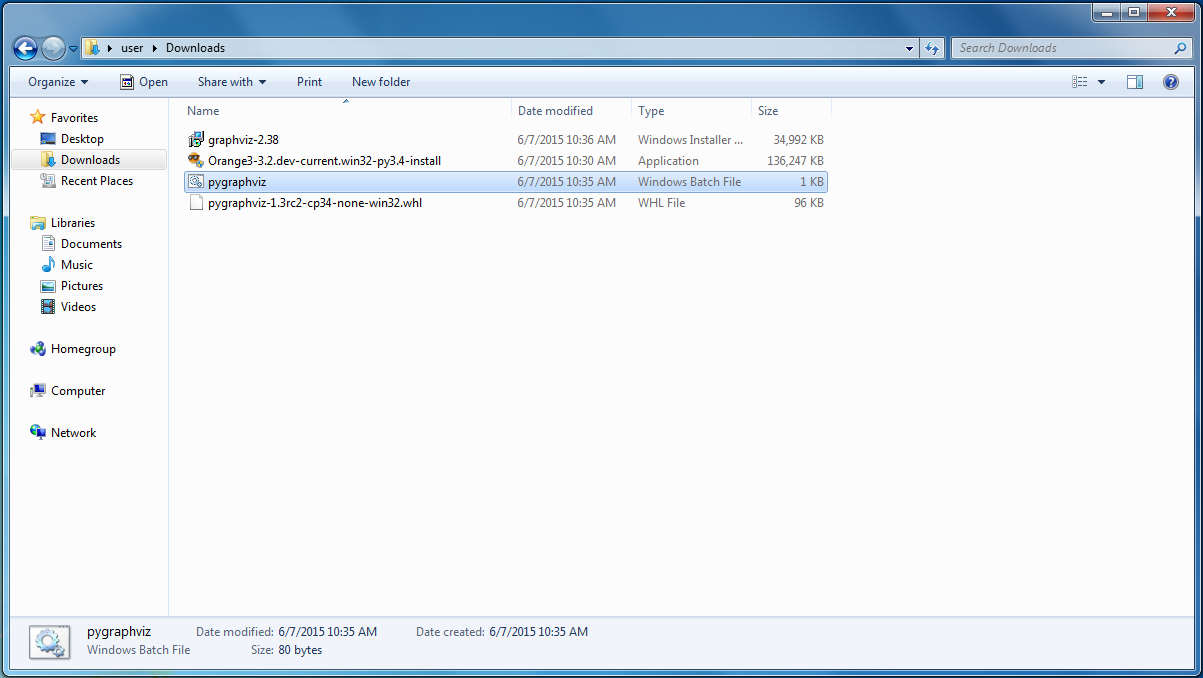
Download the pygraphviz package Alternatively, download the 32-bit version of the package for python3.4 directly from http://www.lfd.uci.edu/~gohlke/pythonlibs/#pygraphviz.
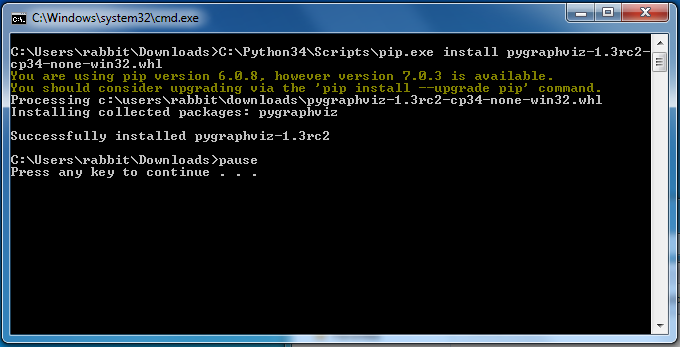
Now download the Pygraphviz install script to the same directory, where you downloaded the pygraphviz package. Open the download directory and double click the pygraphviz.bat script. Choose Run, when asked if you are sure you want to run this software.
A window will open, where you can check the output of the pygraphviz installation.
Reboot.
Double click on the Orange desktop icon to start the Orange application.
To install data fusion widgets, follow the menu Options->Add-ons. Check the box next to Orange3-DataFusion and press OK.

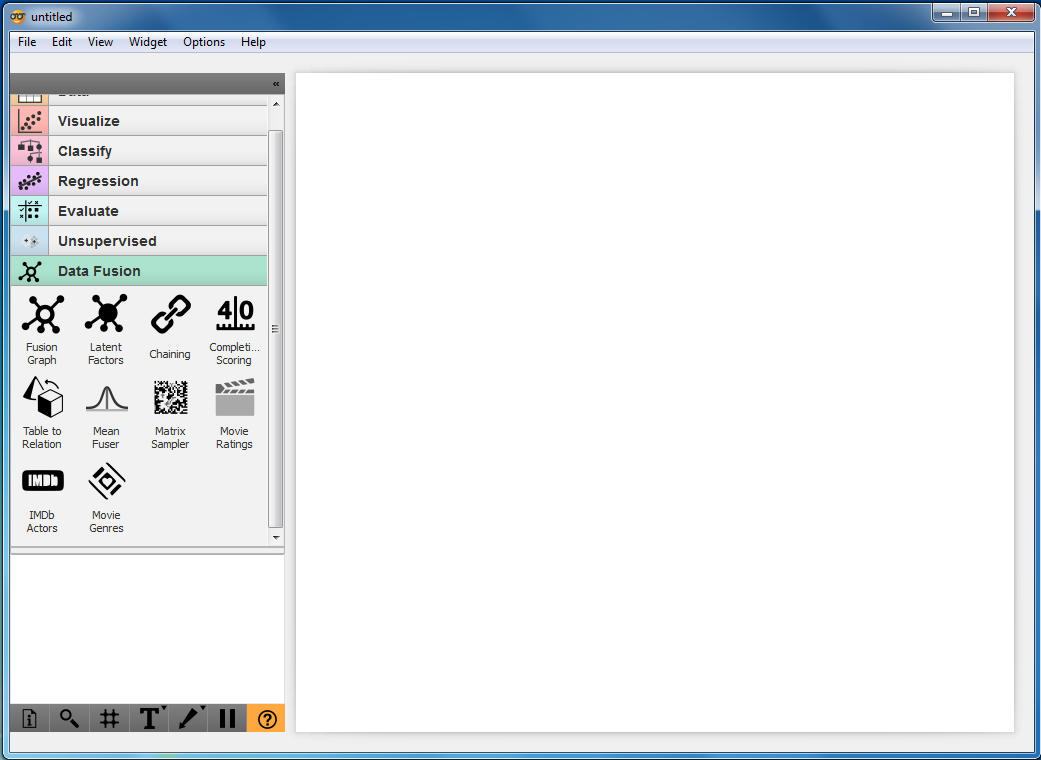
For changes to take effect you need to restart Orange. Close the main Orange window and then double click Orange Canvas icon on the desktop to restart Orange application. You should see a new Data Fusion category with many widgets as shown below.
Step 1: Linux
Ubuntu (tested on Ubuntu 14.04 and 14.10)
Automatic setup
Setup can be automated by using Ubuntu 14.04 setup script . Before the installation, move to directory, where you want Orange 3 to be installed. Following command will start installation, which usually takes about 15 minutes.
source setup-ubuntu.sh Install script will also create and enter new virtual environment for you, which you can reenter using following command:
source orange3env/bin/activate python -m Orange.canvasManual installation
Alternatively, you can choose manual installation. Open a terminal and run the following commands.
Install the necessary system packages:
sudo apt-get update
sudo apt-get install git python-pip python-virtualenv
  python3-dev python3-numpy python3-scipy
  python3-pyqt4 python-qt4-dev python3-sip-dev libqt4-dev
  libgraphviz-dev graphviz
Note that Debian users might additionally need to install pkg-config package.
We will use Python3 and need to create a virtual environment for it:
mkdir orange3env
virtualenv -p python3 --system-site-packages orange3env
source orange3env/bin/activate
Install Orange and its requirements (this step will take about 15 minutes):
git clone https://github.com/biolab/orange3
cd orange3
pip install -r requirements.txt
pip install -r requirements-gui.txt
python setup.py develop
cd ..
git clone https://github.com/biolab/orange3-datafusion
cd orange3-datafusion
python setup.py develop
Now you can open Orange with following command
python -m Orange.canvasopenSUSE (tested on openSUSE 13.2)
Automatic setup
Install can be automated by using openSUSE setup script . Before the installation, move to directory, where you want Orange 3 to be installed. Following command will start installation, which usually takes about 15 minutes.
source setup-suse.sh Install script will also create and enter new virtual environment for you, which you can reenter using following command:
source orange3env/bin/activate python -m Orange.canvasManual installation
Alternatively, you can choose manual installation. Open a terminal and run the following commands.
Install the necessary system packages:
sudo zypper refresh
sudo zypper install git python-virtualenv python3-devel gcc gcc-c++
  python3-numpy python3-numpy-devel python3-scipy
  python3-qt4-devel libgraphviz-devel
We will use Python3 and need to create a virtual environment for it:
mkdir orange3env
virtualenv -p python3 --system-site-packages orange3env
source orange3env/bin/activate
Install Orange and its requirements (this step will take about 15 minutes):
git clone https://github.com/biolab/orange3
cd orange3
pip install -r requirements.txt
pip install -r requirements-gui.txt
python setup.py develop
cd ..
git clone https://github.com/biolab/orange3-datafusion
cd orange3-datafusion
python setup.py develop
Now you can open Orange with following command
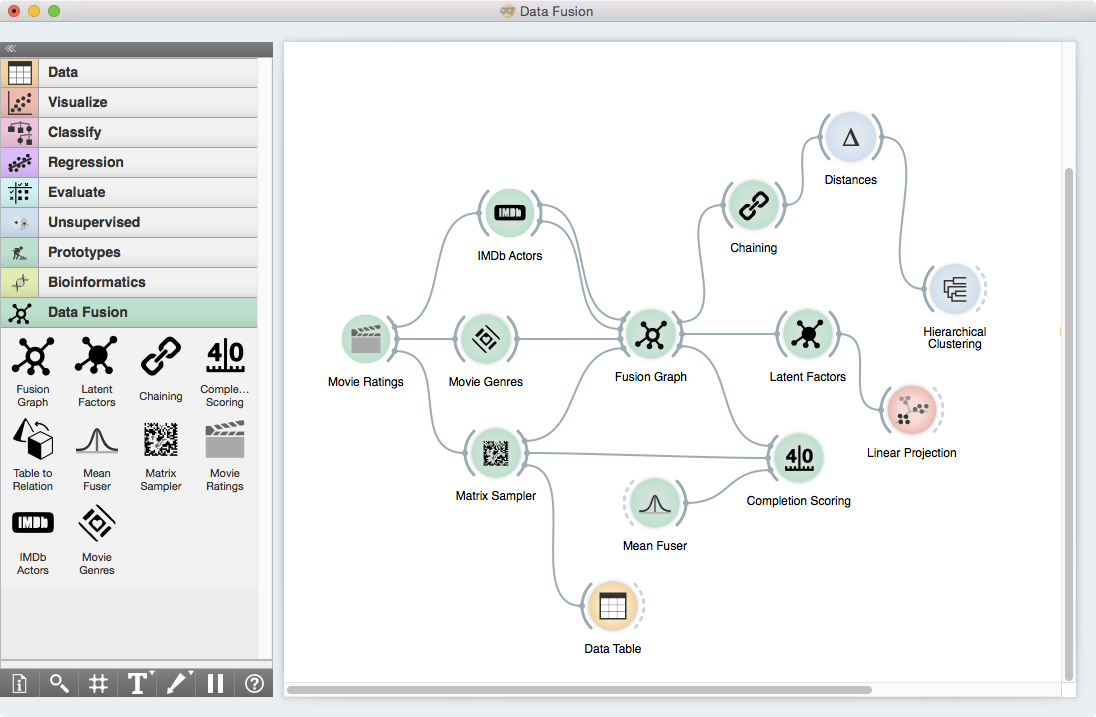
python -m Orange.canvasStep 2: Orange with Data Fusion add-on
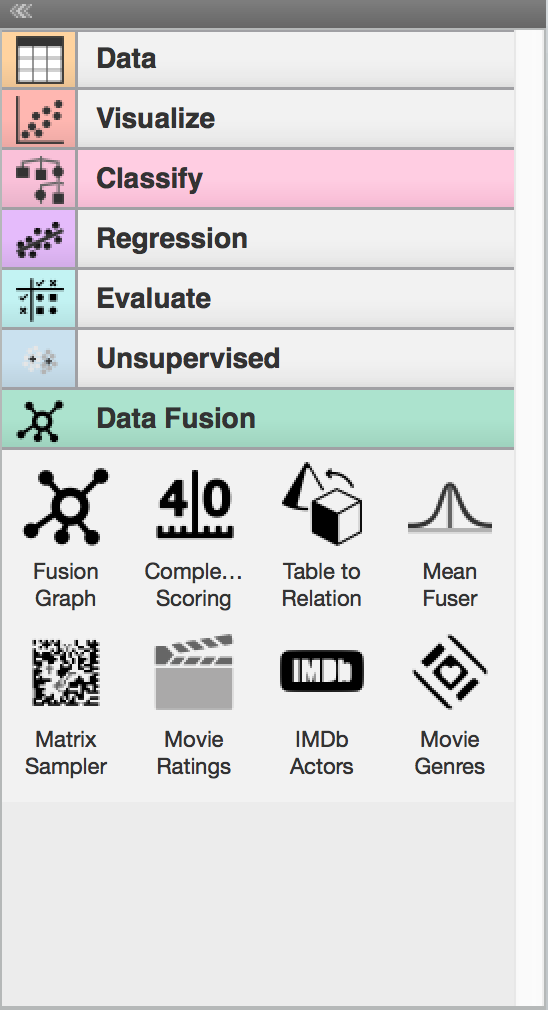
When you open Orange, you see a canvas with many widget categories on the left, such as Data, Visualize, Classify, etc. In the tutorial we will primarily use widgets from Data Fusion category and construct workflows as the one shown below.
During the tutorial we will also use additional data sets from molecular biology. Our lectures will follow the material provided in the handouts.
That's it! We are looking forward to having you attend the tutorial!